This post may contain affiliate links. When you click on a link, you are supporting DIY Party Mom, my family, and our blog fun. Thank you for your love and support!

Quick and Easy Dessert Recipes and Dare to Share Saturday

Create a little love at home with these easy dessert recipes from our Dare to Share Saturday link hop.  These quick and easy dessert recipes will find you anxiously awaiting their arrival from the oven with a smile on your face.


Fall is here and it seems the crazy school, activity, and holiday schedules are kicking in big time.

That means there's not a lot of free time for creating lasting family moments some days.  I know with my own family, we are all together tonight enjoying the Perfectionist's football game, but I'm not sure how much quality time my younger kids are getting as I'm yelling and enjoying the game.  (It's a good thing they love it as much as I do!)

So why not take a moment and enjoy some of these quick and easy dessert recipes from last weeks Dare to Share Saturday.  I know my kids LOVE to bake with me in the kitchen and there's always a lot of laughing and talking going on when we do.  

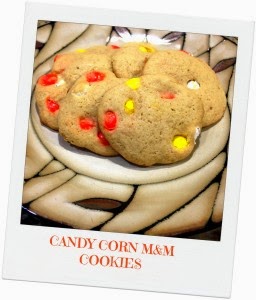
Candy Corn M&M Cookies


Homemade Apple Pie


Gluten Free Halloween Treats


 Chocolate Buttermilk Cookies


Apple Bread Pudding

Thanks for sharing some great dessert recipes.  I can't wait to try some of these tomorrow.  (Saturday is usually my baking day with the kids.) Feel free to grab our button and proudly show it off!  


I shared a few fun things this week too.  I hope you didn't miss all the excitement.  If you did, here's a quick recap.


Come Tour My Craft Room

Touchdown Seeds Candy Topper Print

Princess Castle Silverware Pattern

Teach Kids to Give Thanks Activity

Frozen Candy Bar Slider Print

Cake Pop Maker

My co-host Pam shared some great party features this week.  Where you one of them?  Hop on over to her blog and see!  While you are there, don't miss her great Party Wish List post.  I know there are a few items on there I wouldn't mind seeing under the Christmas tree this year

So what you've been up to this week?


Frozen Candy Bar Wrappers Free Printable

 Create some unique and fun Frozen candy bar wrappers for your princess birthday party.  This free printable is a great way to have a sweet party favor and celebrate Queen Elsa at your Frozen party.

Queen Elsa Frozen Candy Bar Wrappers Free Printable by KandyKreations


I admit, I love the Frozen phenomena.

I love the story of two sisters who risk everything for each other.  It's a story of true love, and not the crazy, romantic love of two people who just met. (Don't get me wrong, I love a good love story, but come on Disney. You finally got it right with this story.)

In honor of my love for this story, I've created some Frozen candy bar wrappers and I'm sharing the Elsa Candy bar slider free printable.

This is not a traditional candy bar wrapper, but a slider that you can quickly and easily put together and slide your regular Hershey candy bar inside.

Queen Elsa Frozen Candy Bar Wrappers Free Printable by KandyKreations

To make your own Frozen candy bar wrapper, simply save the jpg picture at the end of the post.  If you want to add a greeting to the back, import it into your favorite graphics program, and then print onto card stock.

Once you have the wrapper printed, cut around the edges.  Using a dull knife, score down the edge of the "glue here" tab and along the front and back.

Queen Elsa Frozen Candy Bar Wrappers Free Printable

Fold along the scored edges.  

Glue along the "glue here" tab and secure the back of the wrapper to the tab.  Glue the bottom edge of the slider to create a pocket.

Frozen Candy Bar Wrappers Free Printable by KandyKreations

Slide a regular Hershey candy bar into the pocket and enjoy!

If you like this candy bar wrapper, check out our other wrappers here.

Queen Elsa Frozen Candy Bar Wrappers Free Printable by KandyKreations

Teaching Kids to Give Thanks in All Things Activity

Teaching kids to give thanks in all things can be difficult, especially in a "me" society such as we live in today.  We used this lesson to teach our kids to be sure to give thanks in the good and the bad using a fun "perspectacles" activity.

Teaching Kids to give thanks in all things youth activity


This lesson is one that our bishop gave to the youth in our congregation last week.  It was based on Elder Dallin H. Oaks' talk "Give Thanks in All Things."  I used this idea to give my own kids a lesson in giving thanks during our Family Home Evening.

Elder Oaks says "The children of God have always been commanded to give thanks. There are examples throughout the Old and New Testaments. The Apostle Paul wrote, “In every thing give thanks: for this is the will of God in Christ Jesus concerning you” (1 Thes. 5:18). The prophet Alma taught, “When thou risest in the morning let thy heart be full of thanks unto God” (Alma 37:37). And in modern revelation the Lord declared that “he who receiveth all things with thankfulness shall be made glorious; and the things of this earth shall be added unto him, even an hundred fold” (D&C 78:19)."

We then did an attention activity (we needed all these that we could get with the kids).  I started with an empty cup, a spoon, and a pitcher of water.

I asked the kids to tell me everything they were thankful for.  Every time they mentioned something, we added a spoonful of water into the cup until it was overflowing.  We talked about how Heavenly Father blessed us with so much that our lives are overflowing with blessings everyday.  We just needed to be able to see them.

Then I showed them this picture, and asked, What then noticed first.

Teaching Kids to Give Thanks in All things
Source
From  John Hilton III:
"Chances are you probably noticed the dark flowers first. That’s normal because, as Elder Joseph B. Wirthlin said, “Our minds have a marvelous capacity to notice the unusual.” But there is a problem! Elder Wirthlin pointed out that unfortunately, “The opposite is true as well, the more often we see the things around us—even the beautiful and wonderful things—the more they become invisible to us. “That is why we often take for granted the beauty of this world—the flowers, the trees, the birds, the clouds—even those we love. . . . Because we see things so often, we see them less and less.”

Did you notice the blue sky in the picture? The beautiful clouds? The mountains in the background? The dozens of flowers that weren’t discolored? There are so many beautiful things to be grateful for, and as we practice being grateful, we will notice them more and more."

Then we talked about some of the things in our life that we had to be grateful for.  Some of the things that Elder Oaks spoke of were: 
  • apostles and prophets
  • commandments
  • testimonies
  • membership in His church
  • afflictions

Be Thanksful for the bad things in life. For they opened your eyes to the good things you weren't paying attention to before.
Source
It's hard to give thanks during the hard times.  So we asked the kids why we needed to do this more during these times than during the good times.  We talked about how the bad times help us remember Heavenly Father and prepare us to become what He wants us to be.

"“I give unto men weakness that they may be humble,” and then promised that “if they humble themselves … and have faith in me, then will I make weak things become strong unto them” (Ether 12:27)"

"“Know thou, my son, that all these things shall give thee experience, and shall be for thy good” (D&C 122:7)."

We talked about the movie "Pollyanna" and how she managed to find the good in everything that happened around her.  Then we talked about how we can practice that skill.

"When we give thanks in all things, we see hardships and adversities in the context of the purpose of life. We are sent here to be tested. There must be opposition in all things. We are meant to learn and grow through that opposition, through meeting our challenges, and through teaching others to do the same." (Elder Oaks)

Perspectacles to teach kids to give thanks in all things

At the end of the lesson, we created "perspectacles" to help the kids look at everyday things in a new manner.  Perspectacles were paper glasses made from scrapbook paper to remind the kids to be thankful in all things.  

After putting on their "perspectacles" they were given a bag with everyday items in it such as a pencil, a bottle of water, a shoe, a light bulb, a glass, and a Book of Mormon.  The kids had to come up with as many reasons to be thankful for each item as they could.  We gave an award out for the group that could list the most reasons to give thanks.

how to give thanks in all things

This was a great part of the activity since the kids were really looking for every little reason to be thankful and came up with ideas that I'm sure they would never have thought of normally.  This was the "aha" moment of the evening.  (I love when that happens!)

Teach kids to give thanks in all things

Princess Castle Silverware Holder Plastic Canvas Patterns

Create this Princess Castle Silverware Holder for your Princess birthday party or Princess baby shower.  These free Plastic Canvas Patterns will help you to show off your party essential in a fun and themed way. 
Princess Castle Silverware Pattern Plastic Canvas Patterns by Kandy Kreations

Come Tour My Craft Room

One of my favorite things to do is to take a peek inside organized, beautiful craft rooms.  Although I'm not as good as I would like to be, it's fun to see other craft room ideas in the hopes I'll find a few organization or pretty tips that I can use.

Come Tour My Craft Room for some fun craft room ideas and craft room organization

Today, I wanted to let you come tour my craft room and take a peek behind the scenes.  Maybe you'll find some ideas that you can use.

Come Tour My Craft Room for some fun craft room ideas and craft room organization

My craft room is set in what I suppose is considered to be the breakfast nook off the kitchen.  It seems kind of a strange set up to me since on the other side of the kitchen is the actual dinning area (with the better view so that's where everyone wants to eat.)

I never quite knew what to do with this area.  When we closed the store, I decided to turn it into my craft room so that I could work while being close to the kids.  It's worked great (except for the fact that the kids are actually trying to take over!)

Come Tour My Craft Room for some fun craft room ideas and craft room organization

I have four black Walmart bookcases along the long wall to put all my "crap."  On top of the book case is where I keep a few of my favorite things.

We like to do puzzles in my house, so we have five puzzles framed, with my "Life is short" wall hanging in the center.

In front of the puzzles are just a few things that I love.  I have Lumiere, a sucker tree decorated from my daughter's mustache party, two of my favorite Divergent quotes, a few cake stands, an M&M stuffed doll, my cupcake wrappers, and a gumball machine.

Craft Room Ideas Bookcase

I use recycled jars and boxes for my organization since they are free and come in such fun styles, so you'll see a lot of those in my craft room, as well as the cheap shoe box sized plastic containers.

On this first bookshelf is where I keep most of my candy for crafting.  

The top row has individual gum packs and suckers in recycled chocolate raisin containers from Sams club. 

I like to make a lot of candy crafts, so I always need certain types of candy on hand (kisses, M&Ms, and such.)  I keep these on the second row in plastic jars I purchased for my candy store from Walmart.  (Yea, these aren't so cheap but I had a bunch when we closed down the store, so I used them.)

The next row has notebooks where I keep my favorite recipes, my financial information, and other important stuff.  I am using old family sized Lucky Charm boxes to hold my different magazine subscriptions here.  I am looking for a polka dot wrapping paper to decorate these, but haven't found any yet, so they are still sitting "un-beautified".

Below them in the shoe box containers are different sized bags that I use.  While the bottom shelf is kind of the catch all for my shelf.  I have a box with plastic canvas scaps, a box with whirlypops awaiting another order, and boxes filled with chocolate molded candy that I need to picture and list in my online store.

Craft Room Ideas Bookcase


The second shelf has more recycled peanut containers filled with nuts and sprinkles I use for my baking projects.  I like to have lots of different colors and styles since you never know when you'll need to make a quick project for a child that has forgotten he needed something TODAY!

Below that in more acrylic containers is part of my ribbon stash.  I have a lot of ribbon, so I categorize it by color and size.  These containers help me to be able to quickly find the ribbon that I need without having to go through everything I own, so I LOVE that.

Then I have two shelves of craft "crap."  I have crazy things such as balloons, craft sticks, paint brushes, and crazy sized paper in these two shelves.

Below that, I have recycled fudge boxes where I have different printed projects for the holidays.  Since I do a few craft shows a year, I try not to throw away things that haven't sold out, so I can reuse them the next year.  Or if I have an idea that I started, but didn't get completely done before the holiday rolled on, I'll put it in these boxes until next year.

The black milk crate has my favorite silicone molds in it.  The rest of my candy molds are downstairs, but I find there are certain ones that I use alot during specific times of the year, so this is where I store them so I don't have to take the stairs too many times a day.

Craft Room Ideas Bookcase

The third shelf holds most of my crafting essentials.  

The top area has mason jars filled with items like my homemade Modge Podge glue, flavors for hard sucker candies, and candy eyeballs.  

Below that is more ribbon. (Told you I had a lot.)

And then comes my real essentials.  I went to an auction at a local college in Indiana and bought a box of paper sorters for about $2.00 before we moved.  These have come in very handy.  I can sort all of my paper by style and color.  That way I don't grab some expensive photo paper instead of a piece of card stock when I'm working on a project and not thinking too much.

The boxes have my scissors, my pens, tape, glue, stamps, and such.  I use these boxes ALL THE TIME.  It's so nice to have them organized and easy to get to.  I also keep my bubble wrap and (suprise) more ribbon on this shelf.

Below that is more of my specialty paper and printed projects in the fudge boxes.  I created labels with fun polka dots and large wording so I would know what was in each box and hopefully find things a lot quicker. (It works well if I remember where I filed what I'm looking for.)

Craft Room Ideas Bookcase

The last bookshelf is kind of tucked between the wall and my work table, so it has things that I don't use all that often.

The top shelf has pony beads sorted by color into old spaghetti sauce jars.  The second shelf has my candy bar foil jarred by color.  The third shelf has items that I may want to craft with some day (so you can see the many pringles containers hiding back there.)  The fourth shelf has colored chocolate sorted into shoe box containers.  While the bottom shelf has my large foam sheets, my foam shapes, plastic canvas sheets, and items that I need to file.

Are you still with me?  Or have you yawned off in boredom?  If so, I only have a few more things to show, then you can take from this craft room tour what you will and move on.

Craft Room Ideas

Below one of the big windows in this area, I put the bottom half of a cabinet that I purchased at a garage sale a few years ago.  It has worked better here then it ever did in my kitchen holding dishes.

The top counter allows me to take pictures filled with natural light (sometimes even too much light.)  While the inside is perfect for some fo the larger items that don't fit on my bookshelves.

Craft Room Ideas


To the left of the bottom half of the cabinet sits the top half.  I have it covered with a black tablecloth so I can hide all the shelves underneath.  They hold my Xyron machiens and all of the different cartridges I need for them.

The top has a more work space (which is currently filled with a box of tiles that I need to ship out.)  My glue gun sits here with my Craft Robo and more ribbon.

You can just barely see my son's computer on a table sitting on the other long wall in front of another window.  We both have our computers and my printer here.  It's nice because he can sit beside me and we talk while I'm working.  I can see what he's doing and he feels like he's right in the midst of things helping.  (I do ask for his opinion a lot so he enjoys that -most of the time.)

Colorado Sunrise


Let me leave you with the inspiring view outside the window in front of my computer.  I never get tired of the mountains and the beautiful sunrises that I get to work by every morning.  Sometimes it's a little distracting, but it's nice to have the reminder of the beauty outside my craft room too.

I hope you were able to get some craft room ideas from my craft room tour today.  If not, I hope you enjoyed the guilty pleasure of just looking around my room with me.  Now go and create something today!


5 Fall Decorating Ideas You'll Love and Dare to Share Linky

Fall is here and the holidays are close on it's heels.  Here are five fall decorating ideas you'll love.  These decorating ideas will make your home cozy, warm, and happy for the fall season.

Fall Decorating Ideas You'll Love at Kandy Kreations

It's Friday night Football here in the Kandy Kreations household.

The Perfectionist had his first home game tonight and it was awesome!  They won 49-8.  It was so much fun to sit in the stands and cheer on the team.  I forgot how much fun it was to watch football in person.
But is it just me, or am I the only one that feels for the losing team?  I guess I've been on that side so many times, that I just naturally feel bad for all the other kids.  Those kids are someone's baby and she's cheering them on just as much as I'm cheering on my kid.
Despite my soft sport heart, I'm still cheered my kid on as loud as anyone there (much to the annoyance of the fans all around me.)
And I'm cheering on these great features from last week's Dare to Share Saturday.  Did you see them?

Fall is starting to peek it's head out here in Colorado and I'm loving it.  I'm so excited to break out my fall decorating ideas and show them off in my home and blog.

Fall Decor Letters

1. Fall Decor Letters ~ I just love the colors in these DIY letters.  And that tree?  Too, too cute.  These look super easy but spectacular, so don't be surprised if they make an appearance at my house this fall.

Fall Mantel

2. Fall Mantel ~ I have been blessed to have a fireplace mantel at the last few houses we've lived at.  I've really enjoyed dressing it up each month and love to see how others decorate their mantels each season. This mantel really embraces the beautiful colors and textures of fall.  So cool.

Halloween Footprint Sign

3. Halloween Footprint Sign~ I love great Halloween projects that you can create with your kids.  They are wonderful decorations and memories rolled into one.  This footprint sign is a fun decoration for Halloween.

Fall Cork Coasters

4. Fall Cork Coasters ~ If you are a coaster type of gal, you'll love this decorating idea.  These cork coasters can be made into fun shapes for any holiday and will save your furniture in a very festive and natural way.

Fall Smokey Lights
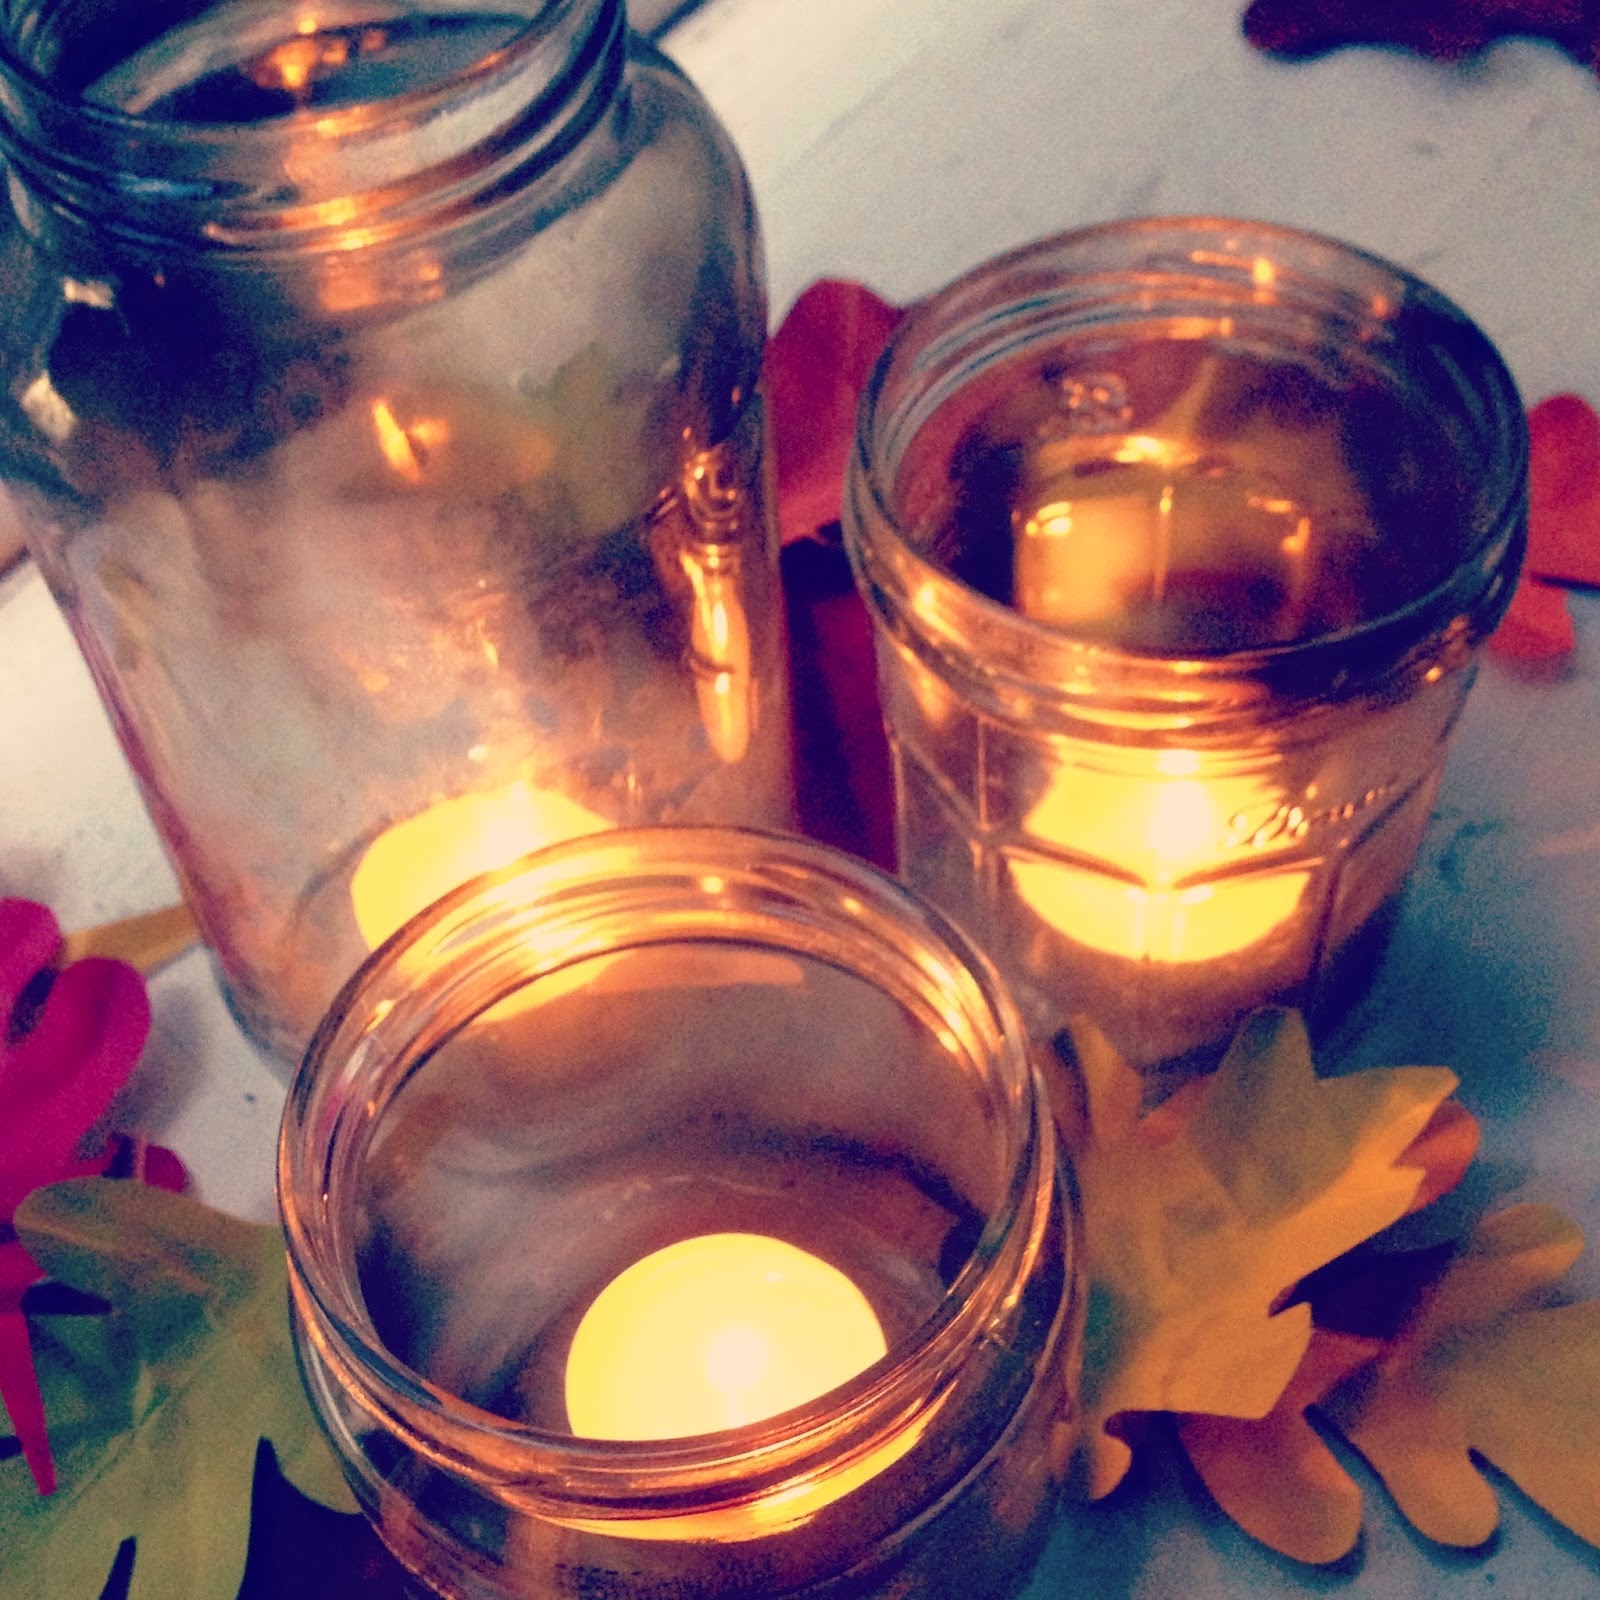
5. Fall Smokey Lights ~ I love to have candles burning in my house.  I rarely do with so many boys throwing balls around all the time, but if I did, these fall smokey lights would certainly make an appearance in my fall decorating.  They have a certain ambiance and fall fire feel to them that makes me think of smores and bundling up in fall coats on a crisp evening.


Did you see all the great features that Pam shared this week?  If not, go check them out (as well as her Homemade Tomato Sauce).

 She and I can't wait to see what you've been up to this week.


Football Peanut Butter Cups Tailgate Food

Be the Most Valuable Player at your next football party with these yummy Football Peanut Butter Cups as the perfect Tailgate food.  This yummy dessert are a copycat of the sweet Reese's Peanut Butter Cups, but in the shape of football helmets and balls.

Football Peanut Butter Cups Tailgate Food by Kandy Kreations

We are heading to my son's first football home game tonight.  The parents of the Senior players are all getting together for a Tailgate party before the game.  We were asked to bring a dessert as our contribution to the Tailgate food.  I decided to bring a little bit of chocolate (so we'd be happy whether we won or lost tonight) with these yummy Peanut Butter Cups.

Peanut Butter Cups Recipe Ingredients

I started by using the Peanut butter cups recipe from Hoosier Homemade.  It's an easy recipe and tastes really yummy.  It takes peanut butter, powdered sugar, salt, and butter for the insides of the peanut butter cups.  I used chocolate melting wafers for the outside chocolate covering.

Peanut Butter Cups Recipe
Using the ingredients, I mixed 1 cup of peanut butter, 1/2 cup of powdered sugar, 1 1/2 Tablespoons of softened butter, and 1/2 teaspoon of salt in my mixer.

Football Pretzel Mold as Peanut Butter Cup Mold

While that was mixing, I used the Football and Helmet Pretzel Pops Chocolate Candy Mold to make my football peanut butter cups base.  I melted the Milk Chocolate Wafers in a bowl in the microwave for 2 minutes on medium power until they were melted.

Using a spoon, I dropped a bit of the chocolate into the mold and spread the chocolate up the sides.  I allowed the chocolate to sit for about five minutes and then drained out the excess chocolate.

Then, I popped the mold into the refrigerator for about ten minutes to allow the chocolate to fully harden.

Peanut Butter Cup Filling Recipe

Remove the chocolate mold from the refrigerator and fill the mold cavity with your peanut butter cup filling.  It helps to use a spatula at this point and pack the peanut butter filling in to the football mold.

How to fill a Chocolate Mold

At this point, the chocolate needed to be rewarmed a little, so I popped it into the microwave again and heated it for a minute at 50 percent power.  Then I smoothed it over the top of the peanut butter cup filling.  I wasn't worried about it spreading over the edges, because I wanted to make sure the chocolate sealed the filling into the football peanut butter cup.

I refrigerated the football peanut butter cups for about twenty minutes this time to be sure the chocolate was set and secure inside the football mold.

football peanut butter cups

The football peanut butter cups popped out of the Football Pretzel Mold pretty easy.  Since the edges were a little messy, I used a butter knife to trim the edges around the footballs and football helmets.


Our football Peanut Butter cups taste wonderful!  (We got 16 of them with the recipe that we made, so we tried one or two.)  I'm pretty excited to take them to the football game tonight and enjoy the rest of the tailgate food.