This post may contain affiliate links. When you click on a link, you are supporting DIY Party Mom, my family, and our blog fun. Thank you for your love and support!
Showing posts with label tutorials. Show all posts

Top 10 Party Posts of 2015

If you're looking to take your party plans for "cool" to "wow" in 2016, be sure to check out these 10 party posts that were reader favorites in 2015.  I'm sure there are some great printables, tutorials, shares, and great ideas to help you be the hostess with the mostess this year.
If you're looking to take your party plans for "cool" to "wow" in 2016, be sure to check out these 10 party posts that were reader favorites in 2015.  I'm sure there are some great printables, tutorials, shares, and great ideas to help you be the hostess with the mostess this year.


Happy New Year Friends.


I can't believe 2015 has come and gone.  It was such a crazy, stressful year.  We had so many family stresses and pains this past year that I'm glad to see we survived to 2016.


Looking back over the year, I see that I didn't seem to get as many celebrations and parties into our family as I would have liked.  My goal for 2016 is to have more fun family time and celebrate the every day.  So look forward to more parties, fun, printables, and tutorials this year.


But here are your top 10 party posts from Kandy Kreations for 2015.


Pac Man Power Pills Candy Bag Topper


M&M Pennant Banner Plastic Canvas Pattern

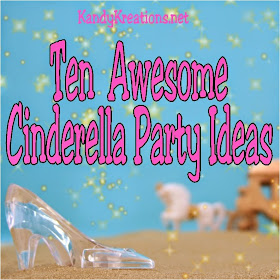
10 Awesome Cinderella Party Ideas

Inside Out Cupcake Topper Party Printable

10 Olaf the Snowman Crafts

10 Adult Coloring Book Page Printables

Moms Emergency Box on the Go

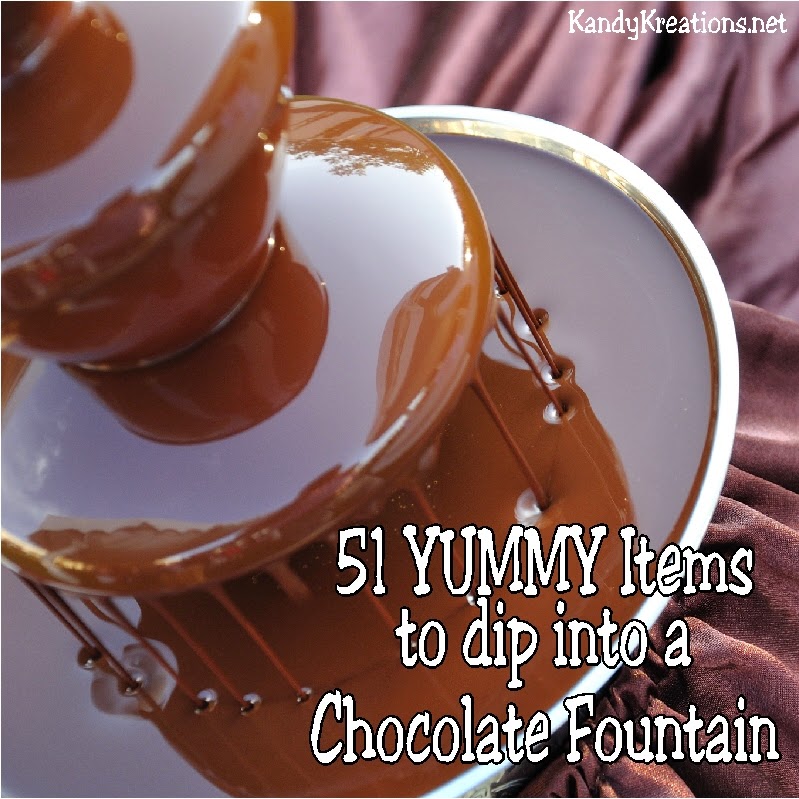
51 Yummy Items to dip into a Chocolate Fountain

Easy Olaf Cup Wrapper Printable

Back to School Survival Kit Care Package


Are you suprised at any of the top 10?  I know I am.  It's interesting to see which projects are your favorites and which party posts are most popular.  I never would have guess on the Back to School survival kit.  It not only made the top 10 for this year, but for all the posts I've ever posted.  Does that mean you guys want more care package ideas? 

Are there any posts that were your favorites that you didn't see here?  Anything you'd like more of in 2016?  I'd love to know what you think!  Drop me a comment and I'll see what I can do to make your party plans and tutorials a reality.

In the meantime, I look forward to lots more fun in the coming year and to share it all with you!

Make Your Own Castle Photo Booth Backdrop

This weekend was our town's Chocolate Walk.  Some sixty businesses gather together to host a day full of treats to give back to the community and help fund our city's annual Music and Blossom festival.

I decided to keep with my Fairy Tale theme and so we had our very own "Princess Chocolate" handing out chocolate roses to all her subjects.


But we needed a castle.  Every princess needs a castle.

Since I'm fresh out of medieval castles around these parts, we had to figure out how to build our own.  Since your little princess may want one too, I thought I'd share our easy DIY with you.  This way, you can use the idea for a great photo booth opportunity at your next princess party.

I started with the lemonade stand/kissing booth that Dear Hubby made for the Chocolate Walk last year.  Since most people don't have one of these laying around the house, you can use the same idea as I shared for the Photo Booth background and use PVC pipes.

It was actually really quick, easy, and cheap to make the castle.  Drama Queen and I found these sponges at Walmart in the cleaning aisles.  They were 2 to a package for $1.00.  Over in the paint department we found some grey paint on clearance and picked up a 0.97 plastic paint tray.  To finish our project, we found a beige flat twin bed sheet in the bedding aisle.

The sponges were perfect in size, but were wavy in shape, so we simply trimmed off the edges to make them into brick shapes.


We layed the bed sheet out on the floor with some newspaper and cardboard beneath it.  (Trust me, you will definitely need this so the paint doesn't ruin your floor.)  I was worried at first that we might need to iron the sheet, but it didn't end up being a problem at all.

Drama Queen sat on one side of the sheet and I sat on the other with the paint between us.  She started stamping the bricks onto the sheet until she got half way and I finished the other side.  It went really fast with the two of us working together.

We let it dry over night and by the next morning, it was good to work with again.


We wanted a castle window for our Princess to hand out the candy, so we folded the sheet in half and drew our window.  Then we cut the window out with a pair of good cutting scissors.

We finished off the castle with a piece of foam core board stamped with the brick design and cut into a castle top design.  Then we placed the piece on top using tape and screws.

Our princess entered the castle and was forced to stay there forever since the Evil Queen mother slayed all the boys who entered the store to save her.  (I am DEFINITELY not ready for her to be saved and carried off!)

If you want to see all the pictures from this year's Chocolate Walk, you can see them on our facebook page here.  But be prepared for some sweet eye candy!
50s Bingo Game Printable

Every good party needs a good game to enjoy.  You can't just sit around and eat all day...or at least that's what I keep telling myself.  (Even if I'm wrong, you'll need to agree with me here, or my waistline will never forgive me.)

So, in planning our 50s Sock Hop Birthday party, we came up with a need for a themed Bingo game.  (Everyone loves Bingo, right?)

After hours of searching graphics, designing bingo cards, and planning how to make this work, I found 50 graphics that had to do with the 1950s.  Then..I decided to share this Bingo party printable with you!


Go HERE to purchase($5.00) and download the entire printable set.

Once you've downloaded it, it's very simple to assemble and play.

There are 30 Bingo cards in 15 pages (2 to a page) and 50 graphic piece circles (25 on each page).  They come as a JPEG file for you to simply print out.

Once you print them out, you can cut the cards out.  The discs are 1.25 inch circles so if you're lucky enough to have that size hole punch, you can use that.  If you don't want to go any further, you can just play now.

If you want to make the Bingo piece graphic tabs last a little longer than one or two playings.  You can add them to wooden discs that you can pick up at any local craft store (I think even Walmart has them.)

Since there are 50 printable tags, I bought 2 big bags.  Then I spray painted them blue.  You can then use your Xyron or Modge Podge to put each graphic onto the wooden disc.


I'm not sure yet if I'm going to put the graphic tabs into a cute bag that I'll make, or just a bowl.  We'll see how creative I get.

In the meantime, just place the graphic discs into a container and draw them out.  Then, wait for a fun game of BINGO!