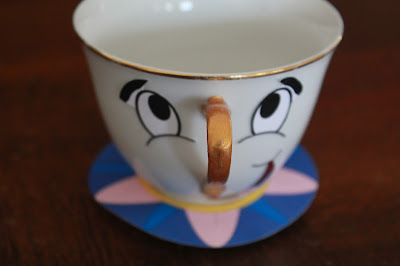
Celebrate your love of Beauty and the Beast by making your own Chip the Teacup decoration. This DIY project shows you how to make Chip using a thrift store teacup and cheap printable for a fun and unique Beauty and the Beast party decoration.

I am super excited about the Disney Princesses Fundraiser that the girls are putting on next month and how I get to help decorate for it. There are going to be 16 tables at the dinner and I want to decorate each table as a different movie. (How fun will that be?!)
For the Beauty and the Beast party table, I wanted to represent each of the characters on the table. I hope to be able to have Mrs. Potts, Lumiere, Cogsworth, and Chip.
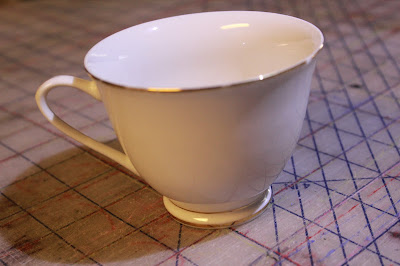
Since Chip will probably be the easiest of them all, I went shopping at my local Goodwill and found this teacup. It was almost perfect as it had a gold rim and was the approximate shape of Chip. It even has a small chip in the side of the rim!
Since Chip's handle was gold and mine was not, I bought some Royal Gold paint from Walmart and painted the rim. It did take several coats and was a bit tricky around the insides.
While that was drying, I designed up a face and a bottom rim to match Chip's. It was tricky cutting out the face pieces, but I just gave it a little white berth around the lines and it worked okay.

I ran the eyes and mouth through my Zyron sticker machine to help them stick to the teacup.
If you don't have one, you could always print the face onto sticker paper or even just glue it onto your cup.
To slip the bottom ring on Chip, I cut a slit through the circle and then just slid it around the bottom.
Chip was really pretty easy to make. You can find the printable HERE. Depending upon the size of your teacup, you may need to resize. But it will get you started in decorating your Beauty and the Beast table too!


So. stinkin. cute.
ReplyDeleteThis turned out so cute! Can't wait to see the other characters!
ReplyDeleteTake care,
Trish
Will you be interested in selling a set?
ReplyDelete