Celebrate with us and this fun Alice in Wonderland Birthday party. With
all the DIYs, printables, decorations, favors, and fun, you can recreate
any part of this birthday party and go down the rabbit hole to Wonderland
anytime.
Warning! Lots of Pictures!!
I have LOTS to show you....
After what seems like an eternity of brainstorming, planning, and putting
together...the Alice in Wonderland birthday party finally arrived this
weekend.
The weather wasn't as cooperative as I would have liked, we were under
thunderstorm warnings all day...but were blessed enough that we never got any
rain. It just messed with our time table enough that we couldn't set up
early and were rushing around at the last minute
As a result, I left the
Photo Booth props
at home (so mad!) That will teach me to put everything into boxes and
have it ready to just grab when I'm rushing out the door.
But we still had a good time over all and the party turned out to be alot of
fun.
The party was held in the common area in front of the birthday girls
house. It was perfect for a Mad Hatter Tea Party since it was a lush and
beautiful outdoor space. There was both lots of trees and lots of space
for the games and activities. I started by putting up my 10x10 tent as a
base.
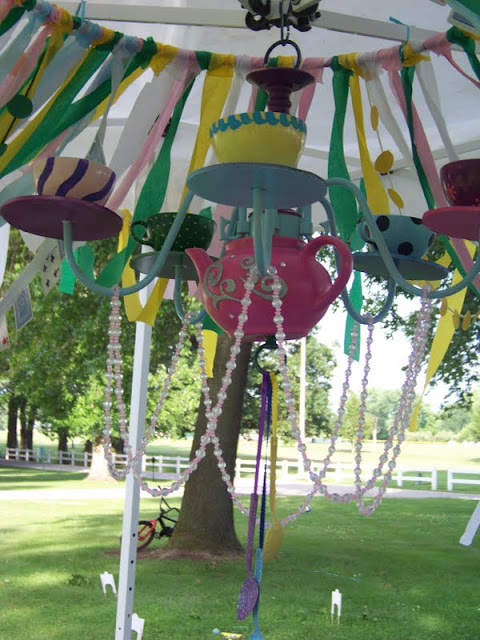
Then we added the
Teapot Chandelier
to the center of the tent. This allowed the chandelier to hang right
over the table and be very eye catching. (It really ended up being the
talk of the party with ALL the girls wanting to take it home.) As you
can see I added a little to the chandelier so there was a little more bling
and 'danglies'. Turned out really cute.
Around the chandelier I made a colorful crepe paper ceiling. In the
midst of the paper streamers were colorful dot streamers and a playing card
banner. We had some fun putting that up with the wind and the humidity
in town is so bad that by the end of the party, the streamers were almost
dripping went and tore pretty easy.
I put a long table in the center of the tent with a 5 yard piece of blue
sparkly fabric that I purchased a while back on clearance at Walmart.
In the center, I placed all the teapots that I found at Garage Sales and
Goodwill over the past few weeks. I loved how there were so many
different types, shapes, and styles.

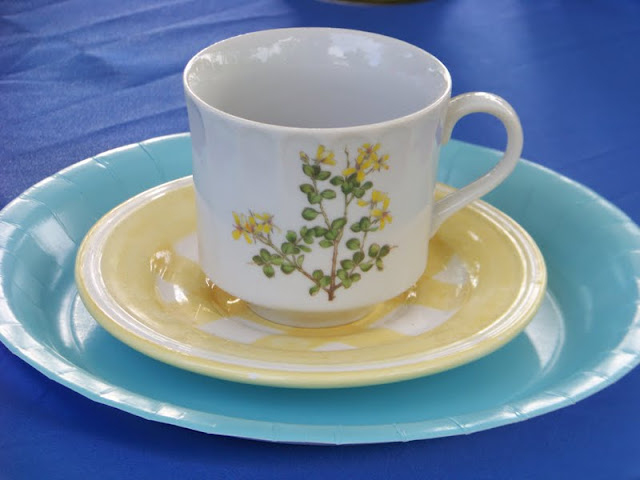
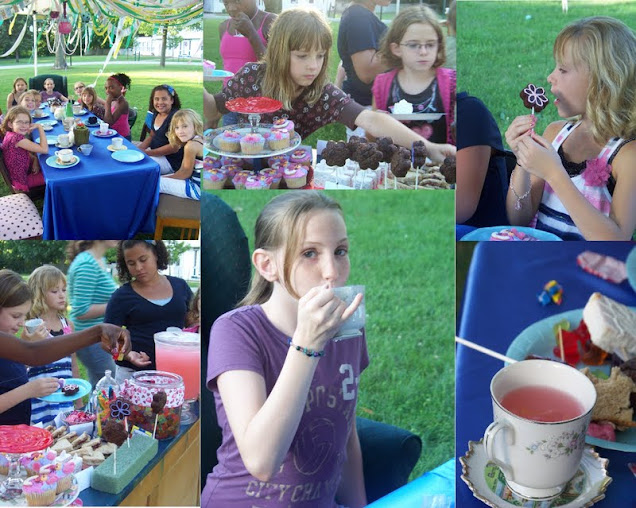
We used a light blue paper plate (so we could throw them away after) and a
hodge podge of teacups and saucers at each place setting.
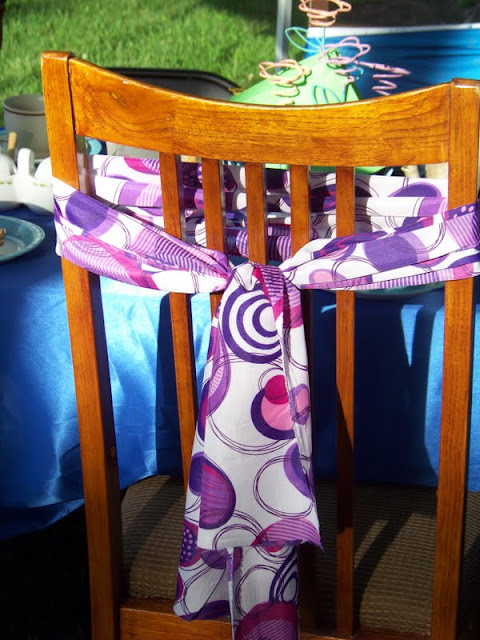
We used a variety of different chairs around the table and added a colored
sash around the back of the chair. I picked up 4 different kinds at the
Walmart fabric clearance isle (can you tell I shop there alot?)
It was funny because when the party was over, this was the girls favorite
thing to play with. They begged to have them and wrapped them around
their hair and faces in different styles. Who would have guessed?
We did give the birthday girl a bigger, fancier, fluffier chair so she stood
out at the head of the table.
Next to the tent table, we placed the
Painted dresser
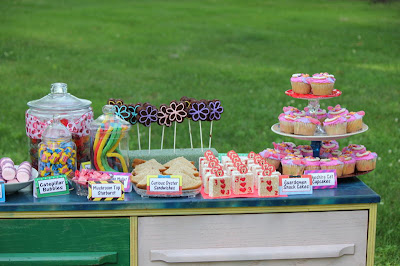
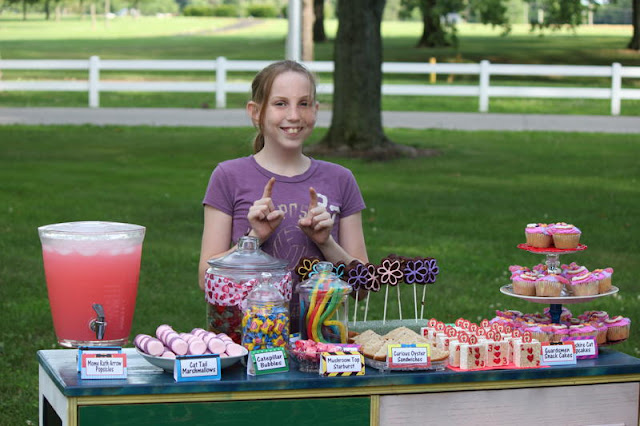
as the buffet table with all the food and sweets on it.
If you remember, I was really struggling with the food for this party, but I
think it turned out pretty cute after all that. We ended up with
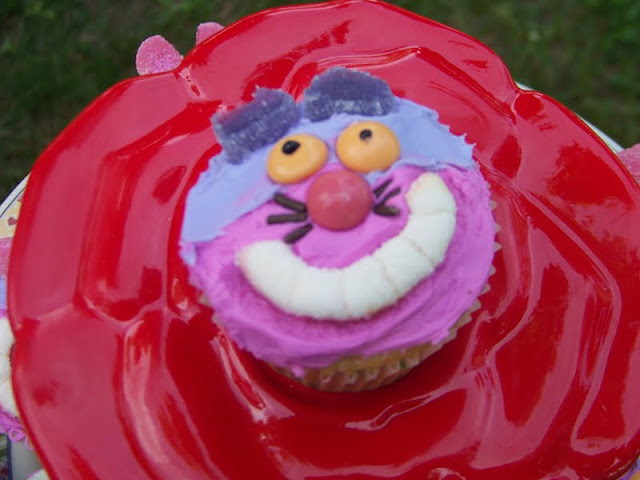
Cheshire cat cupcakes
(made by the birthday girl and her family). I put these on a cupcake
stand that I made using a red charger, a cute themed dinner plate, a
beautiful red rose saucer, and 2 candlesticks from the dollar store.
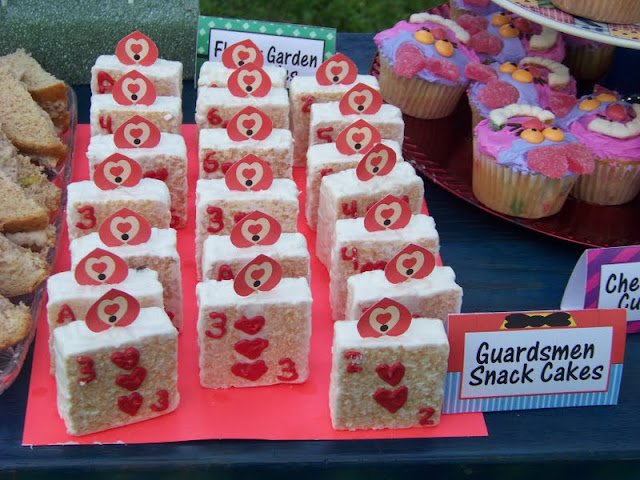
I absolutely love how these Guardsmen snack cakes turned out. I made
them using Little Debbie snack cakes. I didn't like the icing on the
front, so I used the back and piped melted chocolate into card numbers.
Then I added faces for all the guardsmen using
THIS file. I placed all the guardsmen in formation on a red piece of card stock.
We didn't want everything to be too sweet, so we added some Tuna fish and
Peanut butter and jelly sandwiches to the table.
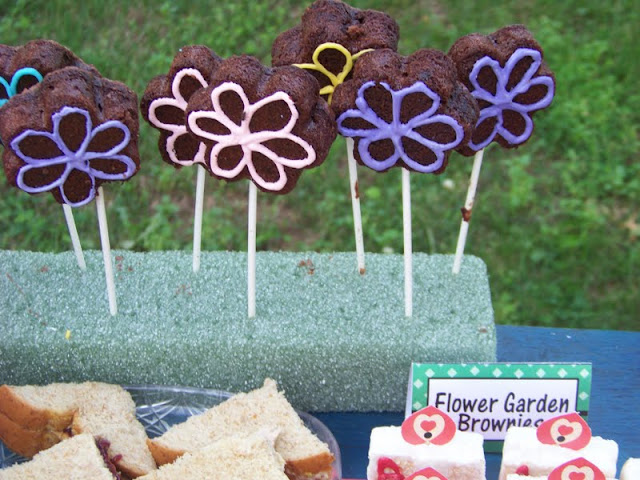
Behind the sandwiches and cakes, we made brownie flower pops and piped
chocolate icing into flower shapes.
Next, we had a mini candy bar.
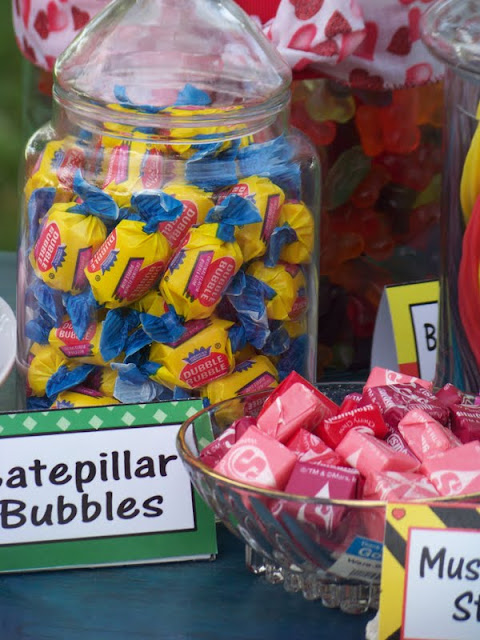
Cheshire cat Tails and drinks consisting of grape koolaid and pink lemonade.
Next to the dresser, we placed a large pasta pot that we dressed to look like
the Mad Hatter's hat. Inside we placed frozen Popsicles so when the
girls got hot from running around playing, they could grab a Popsicle as a
treat.
It worked great to use the dresser because we were able to put extra food
inside the dresser and away from the bugs. We also opened one of the
drawers and used it as a trash bin for all the Popsicle sheaths. That
worked great!
You can purchase the file for the
table food cards HERE.
They come in 6 theme styles with the Mad Hatter, a White Rabbit, Alice,
the Tweedles, the Cheshire Cat, and the Queen of Hearts. Simply add your
food names, your guests names, or your activities onto the graphic file and
print.
Next to the tent and buffet, we set up the
Flamingo croquet.
The mallets stood up to the girl's beatings really well over all. We
only had one that came away inside, but it didn't affect the mallet really at
all. It stayed together and didn't fly apart at any point.
The flamingo head graphics even held up really well over the day. I
wouldn't recommend going this route if you want yours to be permanent, but for
the party and a while beyond, you can purchase the
directions and flamingo head
graphic file HERE. If you don't want to make your own Flamingo Croquet
game completely. I created a DIY printable set that you can wrap around an
Amazon Croquet set that's a lot easier! You can find the
Easy Croquet Set printable here.
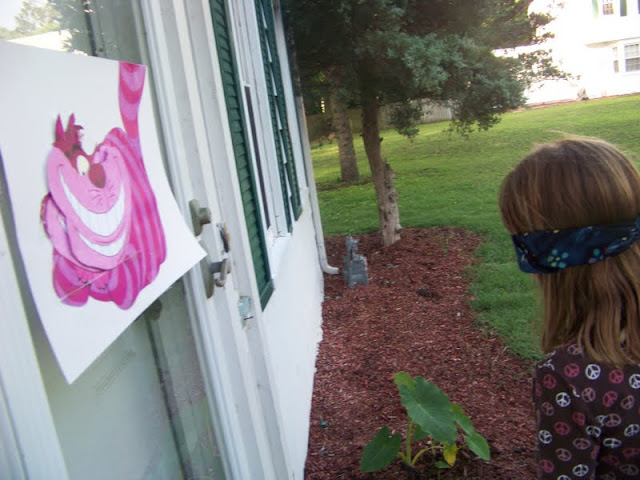
For the other games, we played Pin the grin on the Cheshire cat
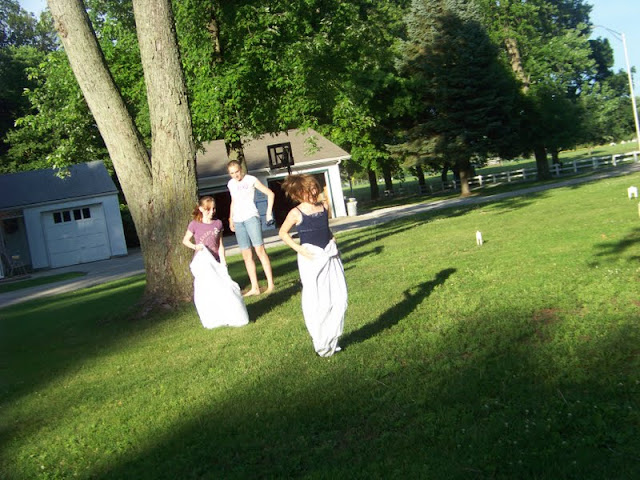
We had a White Rabbit sack race
And a Caterpillar Bubble Blowing Contest
The girls were ready for cake and presents at this point, so we adjourned to
the table and let the girls sing and eat.
After we ate and opened gifts, the girls played croquet and had "free time"
until it was time to go. I had other games planned, but we didn't end up
playing them.
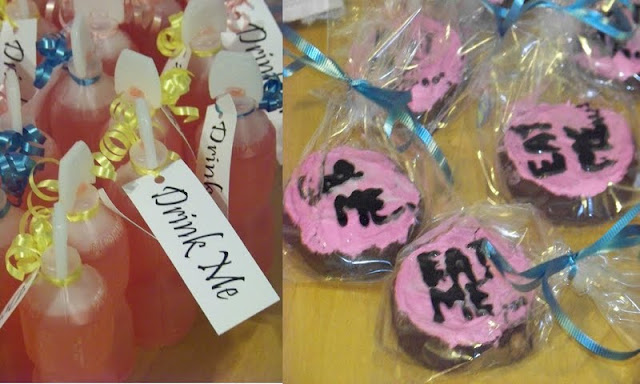
For the party favors, the birthday girl and her mom made Wonderland drinks and
cookies for the girls to take home.
I learned ALOT of tips and tricks on this party and with everything that I
bought, I probably only spent $75 (at the most) after making, clearancing, and
thrifting everything that I could.
Find more Alice in Wonderland Party Ideas here:













Kim, I had thought it would be a total success and I am so glad you shared a lot of pictures. The birthday girl looks very pleased with all that her mom did for her on this day and I am sure all of the friends will talk about this one for years to come!!!!
ReplyDeleteTFS
:O)
Jessica
Looks like such a great party!
ReplyDeleteWhat a great party! You did a wonderful job with the decor, food, and games! Good job, and thanks for sharing!
ReplyDeleteKim.. You did such a great job on this party. I loved all the pictures. I am definitely going to show Kara this one for a possible idea for another year.
ReplyDeleteSo many cute ideas, I can't pick just one to gush about!! This is a really, really cute and creative party. Thanks so much for sharing.
ReplyDeleteWe love this party idea! Great job! The playing card treats are such a brilliant idea.
ReplyDeleteLove it! saw one of the pictures pinned on pinterest and had to come see your site! I am definitely adding your feed. Can't wait to poke around!
ReplyDeleteHi,
ReplyDeleteHow did you make your croquet set?
Stopping by from the Creative Spark Link Up -- i absolutely LOVE this! Thanks so much for sharing; and your chandelier is to die for!
ReplyDeleteI absolutely adore all the detail that went into this party - amazing! Pinned and featuring tonight! Thanks so much for sharing at Mom On Timeout
ReplyDeleteSimply adorable!
ReplyDeleteI would love for you to share this and link up to my TGIF Link Party! The party is open every Friday and closes at midnight on Wednesday night. Who knows, you just might be featured next week!
I follow back: bloglovin, Facebook, and Twitter. =)
http://apeekintomyparadise.blogspot.com/2013/05/a-peek-into-my-paradise-tgif-link-party.html
Hugs, Cathy
This is AWESOME! I just hosted and posted my son's Nemo party, so I know how much work goes into keeping a theme - yours is amazing!! Now I have to click over and figure out that incredible chandelier! :) So glad I found you at Throwback Thursday!
ReplyDelete