
Showing posts with label ice cream. Show all posts
Showing posts with label ice cream. Show all posts
Ice Cream Party Table Food Cards
I need these Ice Cream party free printables. It'll be so easy to WOW the guests with these fun and color table food cards. After all, it's so much fun to make neat party food, but if no one knows what it is, the kids won't touch it. I can use these to tell everyone what the party desserts are or to seat guests at each table as place card settings.


Ice Cream Cone Cupcake Wrapper
What a fun way to turn your cupcakes into ice cream cones! Use this free printable cupcake wrapper that looks like a waffle cone to easily add some flair to your ice cream party.


Easily Take Your Ice Cream Party to the Next Level
Easily take your ice cream party to the next level with these simple tricks. Your parties will be ahhh-mazing and you'll just smile as you think how easy it is with this free printable and these ice cream party tricks.

The Most Addictive Chocolate Chip Cookie Ice Cream Sandwiches EVER
Beat the heat this summer with these addictive Ice Cream Cookie Sandwiches. You won't be able to stop eating them and enjoying the rich flavors and cool textures. You can print the Chocolate Chip Cookie Ice Cream Sandwich recipe here and make these delicious desserts all summer long.

One of the greatest joys of having a house again, is the oven. While living at the hotel was nice and we did have a lot of amenities, we really missed being able to bake. I know we are a little too addicted to sweets, but it's one of the joys in our life and we missed it.
So the other day, we were baking chocolate chip cookies. We love these cookies. I've shared the recipe as a printable at the bottom of the page, if you are looking to try a new chocolate chip cookie recipe, but it's been my experience that most people like their "family recipe" and don't want to try new ones.
I like our recipe because it has oats in it, so the cookie has some texture and interest when you bite in to it. But I know everyone is different.
Anyway, we were making cookies and the Daredevil (my 15 year old son as he's known here) decided we weren't making cookies fast enough. So he dug out the ice cream scoop and proceeded to make cookies that were the size of our fist.

I admit, I was a bit dubious as to how they would turn out, but after a few timing errors, we got the cookie to come out soft, gooey and delicious. While we were eating them, we had to open the milk and get out the ice cream as a celebration.
You can imagine what happened from there. These cookies that are GINORMOUS were turned into ice cream sandwiches.
You're probably thinking, duh. But we had never done that before. Why? Who the heck knows? But I'm slapping myself now, because we are totally addicted to these things. They are like manna from heaven around here. (And so I only managed to get one saved to take pictures of.)
They were super easy to make as you may imagine.

We took our favorite chocolate chip cookie recipe (but I imagine you can use it for just about any cookie type) and used a regular ice cream scoop to dish out 6 mounds of cookie dough on to a cookie sheet. Cook in a preheated oven at 350 degrees for 15 minutes.
With our recipe, the dough will be set around the edges but slightly mushy in the center. This makes them super soft and as they cool they will set up with no problems.
Allow the cookies to cool and then scoop 1 to 2 scoops of your favorite ice cream flavor on to one of the upside down cookies. Place another cookie on top and mush down enough to secure the cookies and ice cream together.

Now enjoy, and don't blame me if you become completely addicted to these during the summer heat. Especially since it means you don't have to go buy the over priced treats at the store or through the Ice Cream truck. You can enjoy them anytime, even when the kids are asleep as a late night snack!
Here's my Chocolate Chip Cookie recipe, the Chocolate Chip Ice Cream Sandwich Recipe, and a double printable in case you use a 1/2 page recipe binder like I do. (FYI, one of the double recipes is up side down because this allows me to have the white paper edge on the side that I poke the holes through when I bind my recipes. It's just a way to make it a little prettier.)
 Chocolate Chip Cookie Recipe |  Recipe Card Prints |  Ice Cream Sandwich Recipe |
10 COOL Ice Cream Recipes to try at Home
Stay cool and celebrate National Ice Cream month by making some home made ice cream in your favorite flavors. These 10 ice cream recipes will help you celebrate in style with a sweet tooth that your family and friends will love you for.

Since I've been working on Ice Cream party printables and party ideas all month, it all just kind of fits together and makes the world perfect.
Unfortunately, my budget doesn't let me go out and enjoy ice cream at our favorite ice cream store every day in July, so instead I've been searching Pinterest today for some great ice cream recipes to make here at home.
Enjoy these recipes with me tonight and have a sweet Sundae or Banana Split to celebrate July.


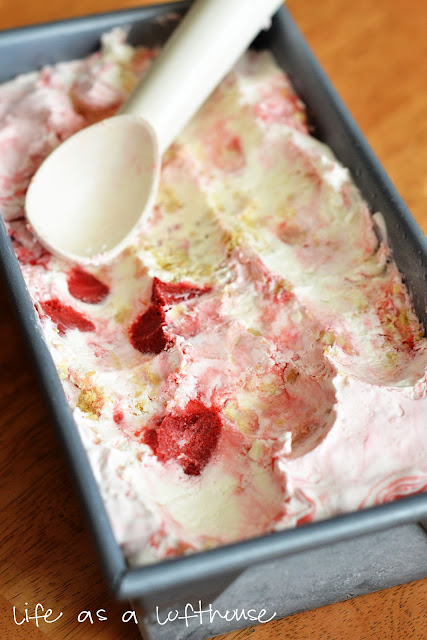


Enjoy these and many more home made ice cream recipes on my Ice Cream Recipe Pinterest board. There's always something cold and sweet to eat here.
3 Ice Cream Treats to Cool Off with this Summer and Dare to Share Saturday

Okay, maybe it wasn't that bad, but there were times I wasn't sure I was going to make it. I can not seem to get used to this heat after the lovely boring weather in Colorado. South Carolina may do me in.
But we are out of most of the boxes. I just can't seem to find any of my dishes. I am not sure how they hid them since we are down to about 10 boxes still unpacked. And we won't even begin to talk about the state of my kitchen and linen closet. Oh well. At least we are Home now.
That means finding ways to cool off and new recipes to try for our Ice Cream housewarming party. In case you missed it, you guys shared some great ice cream recipes last week. I wish I could feather them all. But I do hope to be able to try them all as soon as I find my kitchen.
If you missed them, check out these three ice cream treats to cool off with this summer from last week's Dare to Share Saturday.


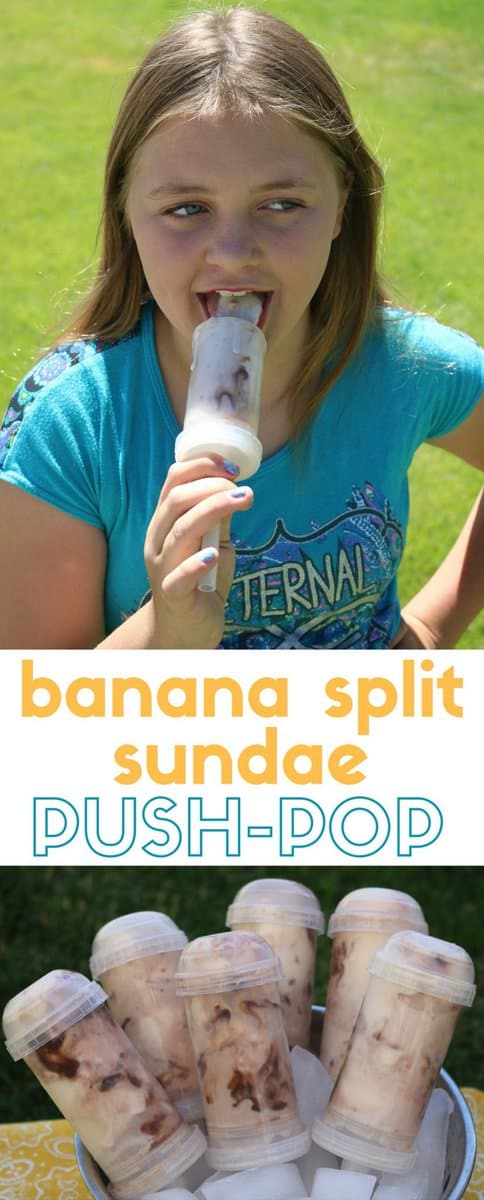

I can't wait to see what you've been up to this week.
Ice Cream Cone Chocolate Covered Oreo Thank You Gift
Be cool this summer with a sweet thank you for everyone on your list. These chocolate covered Oreos are a yummy treat and packaged oh so cute to look like a double scoop of Ice Cream on a cone. Such a fun gift to both give and receive.

Is it just me, or is coming up with the perfect Thank You gift REALLY hard? What do you get someone who has done so much for you that isn't more clutter for them or really shows how much you appreciate what they do every day?
I don't know. But here's one more idea to consider while saying thank you to the guests at your Ice Cream party or for a teacher gift or any other need for a Thank you.

Start by making some chocolate covered Oreos in your favorite ice cream "flavors". I used chocolate Wilton candy melts for the "chocolate" ice cream, and white colored candy melts for the "vanilla" and "strawberry" flavors.

To make the chocolate covered Oreos, you'll need candy melts. Melt the chocolate wafers in a microwave at 50 percent power in one minute increments, until the chocolate is melted and smooth.
Add a little bit of chocolate to the bottom of a Spinning Leaf plain Oreo mold. Tap the mold against the top of your countertop to smooth it out and then place one Oreo down into the chocolate. Tap the mold again and then place another spoonful of chocolate on top of the Oreo and smooth it again and release any more air bubbles. Refrigerate your chocolate covered Oreos for a half hour until they pop out of the mold clean and easy.

While your Oreos are in the refrigerator, print out the Cherry Thank You tags at the bottom of the page. Use a 1 1/2 inch circle punch to cut out the cherries. Then use a regular hole punch to add a hole at the top of the cherry to attach to the thank you gift.

Once your Oreos are ready, add a Nutter Peanut Butter Cookie to the bottom of a 3x10 inch cello bag for the ice cream cone. Now add your Oreos to the top to look like scoops. I was able to get three in a bag but it was a tight squeeze, so I settled on having a double scoop ice cream cone for my Thank you gifts.
At the top of the Oreo "ice cream scoops" tie the bag closed with some green ribbon and add one of your cherry tags to the top. Add some curly ribbon and secure the bag closed.

Now give a scoop or two of ice cream with these Ice Cream Cone Chocolate Covered Oreo thank you gifts to everyone in your life.

How to Make a Banana Split Candy Bouquet
Surprise someone with this Banana Split DIY Candy Bouquet as a birthday gift or as a centerpiece at Ice Cream party this summer. It's an easy diy project and so much fun to eat and enjoy using simple ingredients like Dum Dum candy suckers, Styrofoam balls, ribbon bows, Twizzler candies, and an ice cream candy dish.

I love to make candy bouquets for just about every occasion. They are the perfect gift for everyone because who doesn't love candy and they won't get stuck in the back of the closet waiting to get regifted!
While thinking about the centerpiece for my Ice Cream housewarming party next week, I thought it would be perfect to make a Ice cream sundae candy bouquet. But after looking around and starting to gather supplies, my sundae became a banana split with 2 scoops. (Don't you just love how projects have a tendancy to evolve on you while you're working on them?)
But who doesn't love 2 scoops instead of one when it comes to Ice Cream? Or candy?

To make a Banana Split Candy Bouquet, you'll need:
- 300 count package of Dum Dum suckers
- 2 4 inch Styrofoam balls
- 1 package of yellow Twizzler candies
- 2 red bows (Found mine at Dollar Tree)
- 1 large serving dish (also found at Dollar Tree)
- a pair of scissors

Start by seperating the dumdum candies into different colors. This wasn't easy since the colors were a little subjective on some of the candies, but I let my 11 year old do it and they turned out pretty good.
Find out which colors you have the most of. I ended up with red, purple, and blue being the majority of my sucker colors.
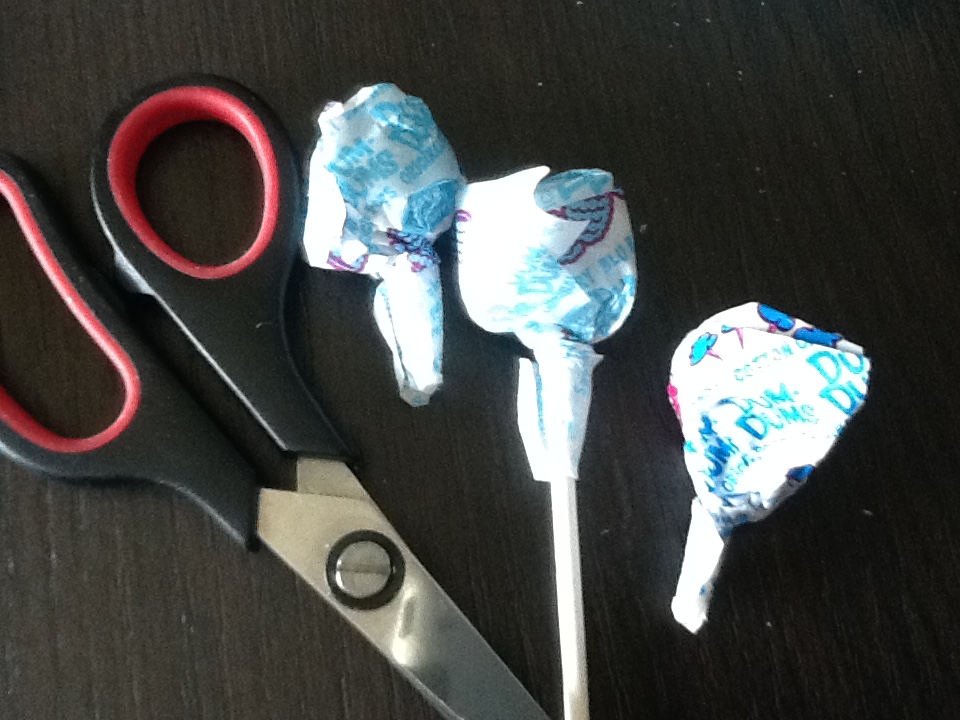
Choose one of the candy colors to focus your "ice cream scoop" on, and trim the sucker sticks at the bottom of the candy wrapper.

Start by pushing the sucker sticks into the center of one of the 4 inch Styrofoam balls. Continue around the center of the ball in a line. (It will kind of look like one of Saturn's rings!)
Once that ring is complete, move up a row and make another ring until you reach the top of the Styrofoam ball or run out of color. I was able to complete about 4 rows with one of the colors, the second I added some of the brown suckers in to look like chocolate chips to complete the rows, and completely fill the top half of a third ball in another.

Add the ribbon bow to the top of the empty space on your sucker balls.

Now it's time to assemble your banana split. Start by adding some of those non-matching colors to the bottom of your banana split bowl. These will help you balance your "ice Cream" balls. Place the candy filled Styrofoam balls side by side on top of the sucker base. It may take some doing to balance them depending upon the size of your scoops and the banana split bowl.

Remove three of your yellow Twizzers and place on each side of the banana split bowl to resesemble bananas. Now add a little bit of party fun, and enjoy your Banana Split Candy Bouquet!

Who would you give this yummy candy bouquet to?


Subscribe to:
Posts (Atom)